
We collect basic website visitor information on this website and store it in cookies. We also utilize Google Analytics to track page view information to assist us in improving our website.
Spring Season starting to book up. Promotions Available for Winter.
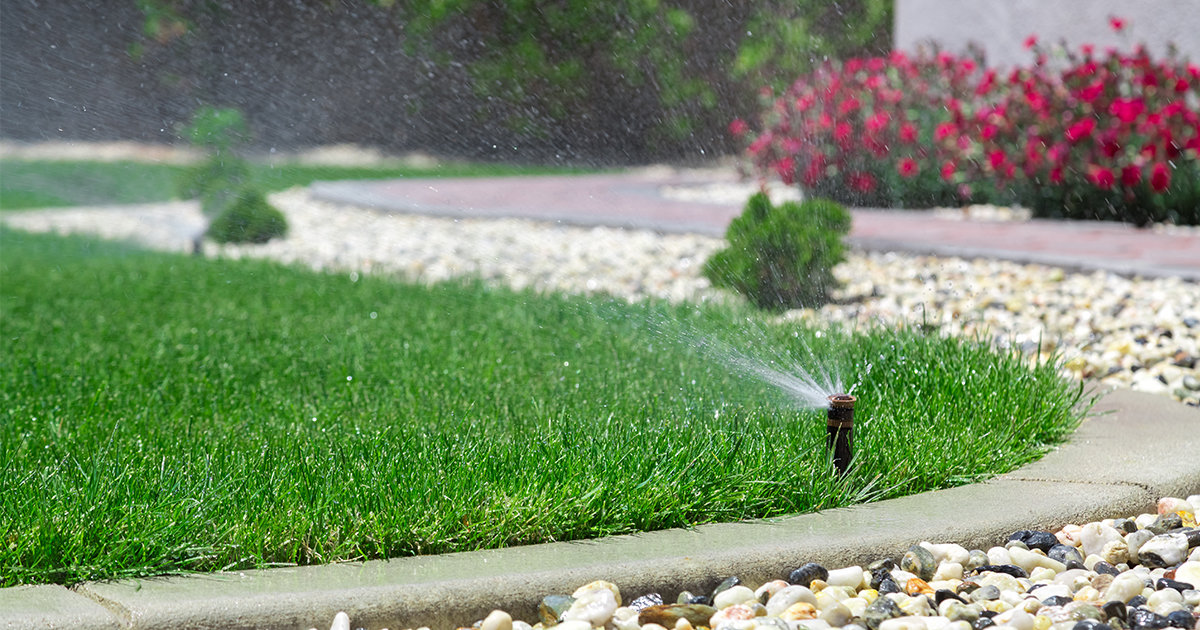
With the sun shining more often, we’re all looking forward to what it bodes for us: spring. But before you leap into action and start watering the lawn, ensure your sprinkler system (hopefully winterized) is working well.
Sprinklers, especially automated ones, are great helpers for gardeners. You can set the watering system to turn on at a time allowed by your town or city. And you can program it to turn off after a while so you’re not wasting water, a precious commodity now.
Sprinkler systems can be installed above ground for easier access to the pipes, or underground if you’d rather not look at the network of metal.
Stationary sprinklers have different spray heads that water only one part of the yard: the surrounding area. This feature makes them ideal for small lawns.
If you have a larger yard, you can use a travelling sprinkler, which is mounted on a portable cart-like structure to be moved around.
An impact sprinkler head can rotate to cover a large area or a small, pie-shaped area, depending on the adjustments made to the sprinkler head. This particular watering system is ideal for watering shrubs, trees, and lawns. However, you will need to make other arrangements for flower beds, because the powerful water stream can damage petals or leaves.
Misting sprinklers, also known as micro-sprinklers, supply small volumes of water to tiny lawn areas. They’re great for irrigating delicate plants that require precise watering techniques. The sprinkler head emits a tiny amount of water every hour and is useful for compacted soil. Misting sprinklers work well with low water pressure, too.
Before you do anything else, shut off the sprinkler valve to prevent any water-related surprises from disrupting your work.
A good place to look for your system’s shut off valve is in the basement or in the crawl space under the house. It should be near ground level, close to piping coming into the home. There should be a single shut off valve, which usually has a lever-type handle. Watch out for a large water pipe coming in well below ground level. This one will be coming through a foundation wall and is most likely your home's main water supply, not the sprinkler system valve.
Sometimes, sprinkler systems are installed with their own valve boxes outside the house. If you can’t find one in the usual spots, look for the valve box around the yard.
Sprinklers usually also have a backflow prevention system installed with them. It’s important so herbicides, pesticides, or lawn fertilizer doesn’t flow into your home’s main water. After shutting off the sprinkler valve, ensure the backflow preventer is tightly closed, too.
Now it’s time to override the automatic settings of your timed mechanism. But before you do that, note down the settings you were using, unless you want to readjust the system altogether.
Turn on the manual cycle. This will help slowly release water to the entire irrigation system when it’s time to turn it back on.
To start off, perform a general health check on the system. This is the time to replace batteries and re-program for new times.
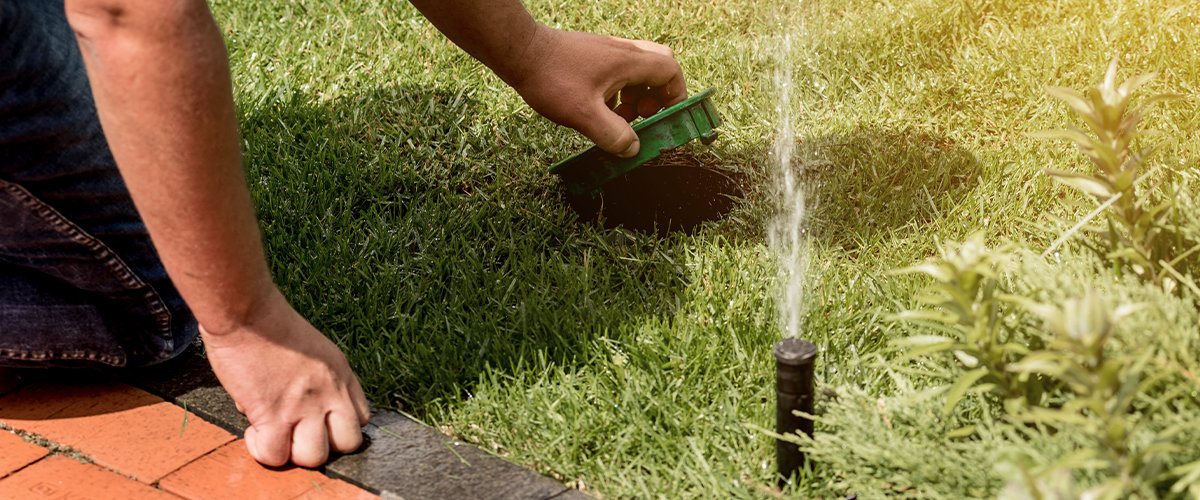
Check your municipality’s website to find out watering times, so you don’t get in trouble with by-law.
Next, do an overall inspection of the pipes if you have access to them. You’re looking for cracks or damage that could leak. If you want, you can repair the pipes using an irrigation system solvent cement. If you’re not sure how to do it, call an expert.
After taking care of the pipes, move to inspecting and replacing any cracked or worn hose grommets. Now is also the time to check the filter screens in spray nozzles, so you can clean or replace them.
Closely inspect all sprinkler heads for debris and damage. If you notice debris, which you likely will, clean it out to allow for proper water flow. Take the sprinkler head off and straighten out a paper clip to use for pushing out any grime or debris.
When you’ve cleaned out the sprinkler heads, put them back on, and checked all pipes, you can begin testing your sprinkler system.
But, wait! Check the soil condition first.
This step will vary regionally. It’s a good idea to perform a pH (measure of hydrogen concentration that indicates acidity or basicity) test on your garden soil before you begin watering. Plants need a good balance of soil pH for optimal growth. Knowing what’s the pH of your yard soil helps determine your gardening regimen for the season.
The ideal time to test for soil pH is during the fall. An early check will give you time to make corrections and apply remedies to heal the soil. But you can also do the testing in spring or summer. However, it will delay your planting activities.
If you start your sprinkler system in early spring, remember, the ground may not have thawed enough yet. If it’s still frozen by a foot or more, you run the risk of cracking an underground pipe.
It’s time to let the water flow, but take it slow. It just takes a few seconds for the system to pressurize so always open the system shut off valve slowly.
High water flow can create a water hammer — it’s a shockwave caused by a sudden change in water flow — that can burst fittings or pop off sprinkler heads.
Start by testing the valve that’s furthest from the water source. Keep it open for a bit to let out air and any debris inside the pipes. Once that’s tested, gradually increase the water pressure and open other sprinklers.
Repeat this process with each valve and watch for anything odd.
Testing a sprinkler system isn’t just about checking how the water is flowing.
You also have to make sure it’s reaching its desired destination. If your sprinkler system is set up to water by zone, tour each one. Malfunctioning sprinkler heads could indicate plumbing problems that will need to be fixed.
Make sure the water reaches the entire zone in which the sprinkler head is placed. Sprinklers shouldn’t be watering the sidewalk, driveway, or other hardscapes. If you have to readjust the direction of your sprinkler heads, go for it.
It’s a good idea to do this inspection monthly to ensure spray heads are working well, spray patterns are consistent, and each nozzle is clean. Regularly surveying your sprinkler system will also help prevent water wastage.
Remember we switched the sprinkler system to manual? Well, you’ve tested that aspect of it, but now you have to make sure it’s working well on a timed schedule, too.
Set a test timer to check if it’s turning on and off accordingly.
You might want to consider investing in a rain/freeze sensor that detects when the lawn has enough moisture. This feature will automatically stop the sprinklers depending on ground wetness. It will also switch off water when it starts to rain. Remember to turn off your timer after you’ve tested the system. You may not need it immediately after trying out the sprinklers.
Put a reminder in your calendar so you can turn it on again. You can adjust settings, if needed, at the beginning of summer to ensure your lawn gets enough water during the dry season.
You will need to change the settings again in August or September, when the weather changes and temperatures drop and days get shorter. Lately, we’ve been seeing dry, hot weather extend beyond a traditional fall as well, so you can play it by ear.
Keep in mind to turn the sprinkler system off completely and winterize it before the first snowfall.
Guidelines for testing times can vary according to how quickly it gets hot where you live.

But a general rule for Canada is to wait until the snow has started to melt before you begin your inspection.
If you want an early kick off, have insulated valves, or know how to drain your backflow prevention device to stop possible freezing damage, start during the first 15 days of April.
If you are on top of your game, you can start the system in the last 15 days of April. You have to monitor temperatures and be ready to wrap your sprinkler system if it gets cold again. Considering it’s Canada, this is likely going to happen.
If you want to avoid a surprise frost and still stay ahead of the dry season, start your sprinklers in early May.
In general, you can be sure there will be no frost after mid-May. But don’t be surprised if it does happen. However, you won’t need to wrap up your sprinkler system if it does.
Installing a professional sprinkler system should be discussed with your landscape designer when you are planning out your backyard makeover.
Contact Premier to setup a no-obligation conversation with our landscape designer today.
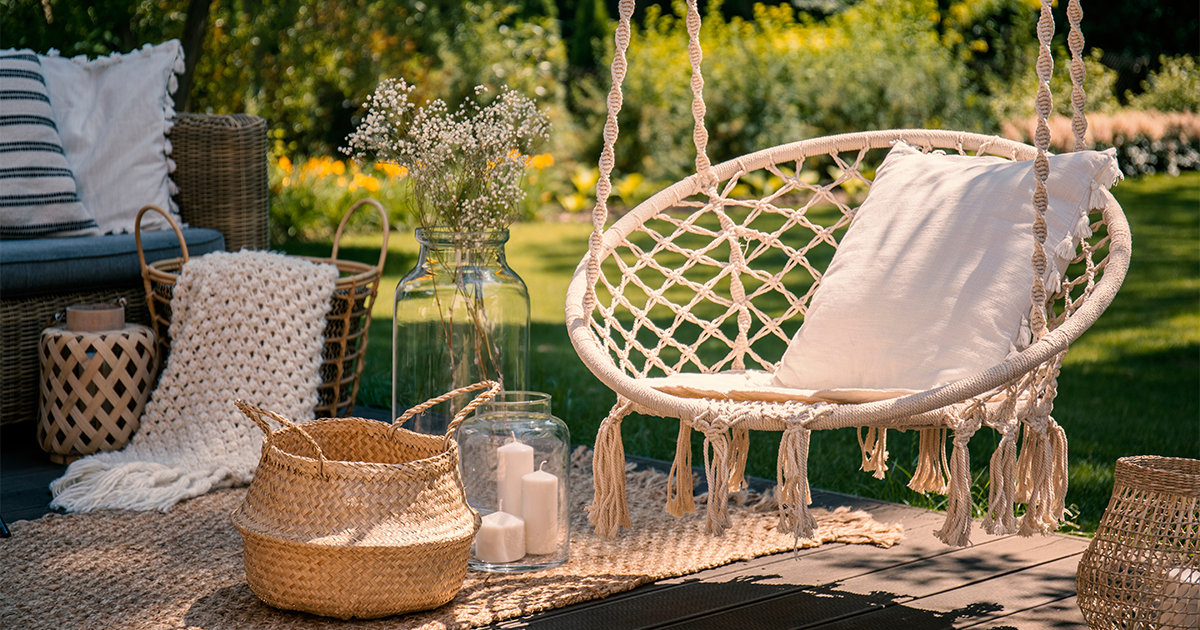
Are you reminiscing about the simple days of childhood summers when you played outside with friends, swung on the tire or tree swing, and stayed out until dinner time? Or are you thinking back to sitting on a porch swing while chatting with your grandparents and dreaming of doing the same thing with your own grandchildren someday? Or are you looking for a new, cozy place to read, relax, or spend quality time connecting with your partner and other loved ones?
Then adding an outdoor swing to your yard may be a great choice for you!
Porch and backyard swings are charming, nostalgic, and an easy way to add comfort and appeal to your home. They can bring back fond memories or be a place to create new ones.
They are also an inexpensive way to upgrade your patio, deck, or garden. Continue reading to learn more about considerations for adding a swing to your outdoor living space!
The options for outdoor swings for decks and patios are unlimited, so you are sure to find a style that matches your tastes and budget range.
When it comes to outdoor swing styles, a key consideration is whether you prefer a free-standing swing or one that is suspended from the roof or rafters of your covered deck or the beams of your pergola. Which style you choose will be based on your vision, personal preferences, and what your space can accommodate.
If you do not have a covered space, talk to a deck building contractor, like Premier, about adding a roof or beams if you would like to install a suspended outdoor swing.
Alternatively, opt for a style with its own frame or that sits on gliders rather than using ropes, chains, or wires to swing.
Of course, you can also consider adding other swing styles to your yard, like rope swings, tire swings, plant swings, platform swings, or DIY pallet swings for a cost-effective daybed project! After a little bit of research and a quick trip to the hardware store, you'll have everything you need to create an easy swing for your children or grandchildren.
Once you have a better idea of your vision and what your space can accommodate, you can start thinking about your preferred porch swing size.
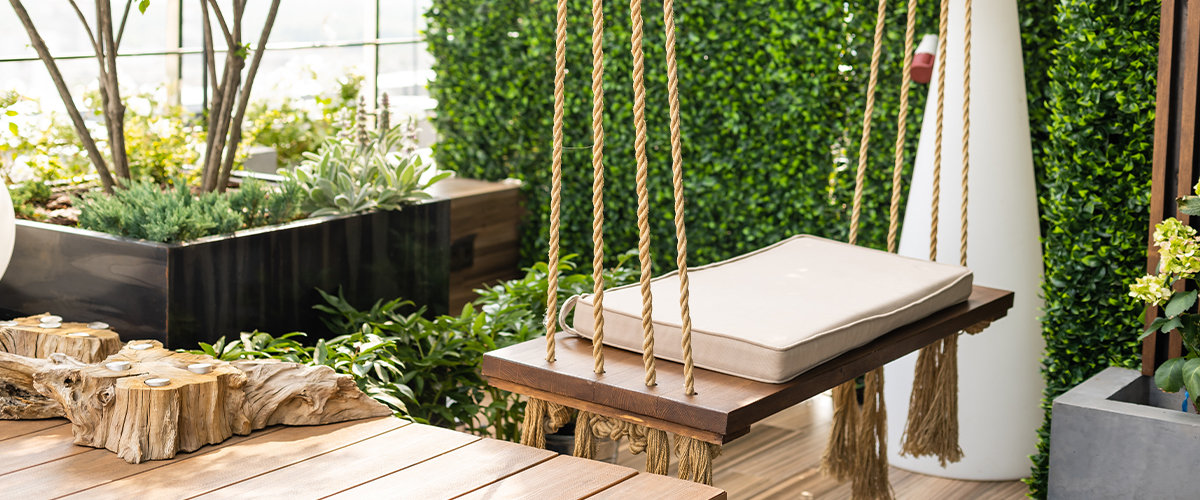
Consider how many people you would like to accommodate and how you plan to use your outdoor swing before you begin shopping.
For example, do you want a one-seater swing where you can curl up alone in a nook with a good book? Or do you envision having a space to sit with your spouse after a long day? Does your swing need to allow you to lay down for an afternoon nap, or will you mostly use it sitting up? Will your kids want to pile on all at the same time? Would you like a space for your dog to snuggle up with you too? All these factors can influence whether you require a single-seater, double-seater, or a day bed.
Double-seater porch swings are the most common, but daybeds are also a very popular choice for people who love to fill their outdoor swing with pillows, stretch out, or cuddle with loved ones. Single-seat swings are also a nice addition and can really elevate your outdoor living space if you have an empty corner that you aren't sure how to fill.
Understanding weight limits and suspension types for your porch swing is critical.
Failing to pay attention to these considerations can result in injuries to you or your family, damage to your property, or cause you to break your new swing entirely. No one wants to fall onto the ground while trying to relax, and replacing your swing entirely can be costly and inconvenient. Therefore, take note of weight load maximums and always ask an expert if you are unsure.
Different chain, rope, or wire suspensions will have their own load capacities, as will the hardware used to connect the suspensions to the frame of the
outdoor swing. Swings themselves may also have maximum weight limits.
A purchased outdoor swing should come with a manual, and your deck builder will be able to advise you on capacity limits if you build a custom porch swing or work with them to have one installed.
Another important consideration for outdoor porch swings is the type of material used in the frame and in the swing itself.
Of course, the materials must be durable and weather resistant without sacrificing comfort and style.
The most popular materials for porch swing frames are teak, all-weather wicker, and coated metal. Teak wood is naturally weather resistant and is a classic, cozy, and elegant option that works with many aesthetics. All-weather wicker (which is made of PVC) is also a top choice due to its versatility and resistance to water and direct sunlight. Wicker porch swings may have a coated metal frame to provide a sturdy place for the wicker's tightly woven design.
Metal frames such as stainless steel or aluminum are also very popular for free-standing outdoor swings as they are rust resistant.
Some single-seater outdoor swings are also available in heavy-duty, weather-resistant fabric, though most double-seaters and daybeds are built with sturdier materials to accommodate more weight.
No matter which style, size, and material type you choose for your outdoor swing, you can't forget about accessories and practical add-ons that will allow you to increase comfort, maximize functionality, and incorporate some of your personal flare.
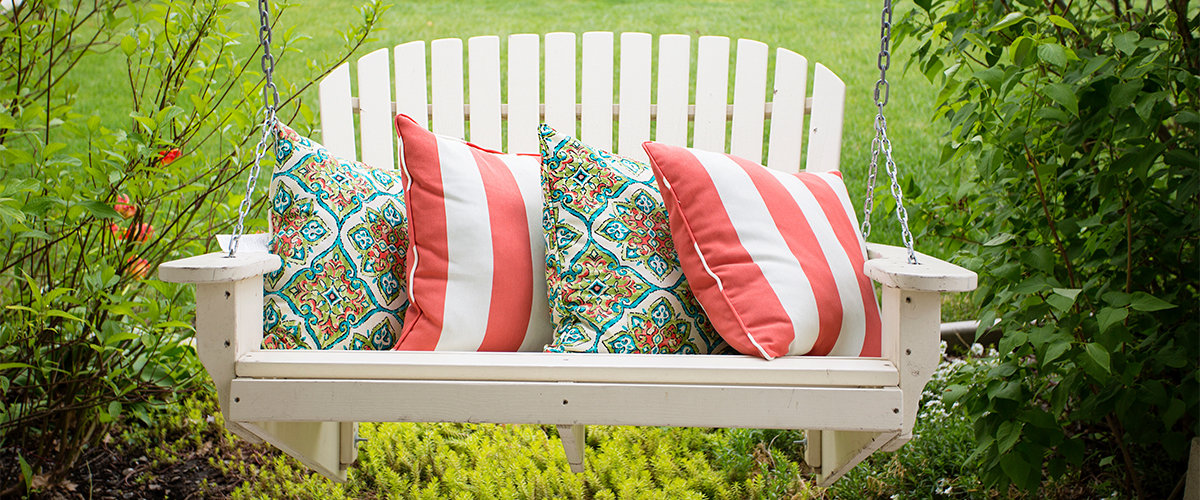
Accessories for outdoor swings include items like porch swing cushions, outdoor pillows, cup holders, and canopies.
While many porch swings are comfortable just the way they are, you can't go wrong with adding outdoor cushions. Some models will also come with cushion seats, while others give you the option to add cushions or enjoy your swing without them. Outdoor cushions add nice pops of colour and can take the comfort of your porch swing to the next level. Don’t forget to add some pillows too!
Cup holders are another great addition to your porch swing. Build them into the swing itself or purchase cup holders that you can add on later. Some are removable for easy cleaning or for when you may not want to utilize them.
Canopies are another must-have, especially if your porch swing is in an unsheltered spot on your deck or patio. Canopies are awnings above the swing that help protect you and your cushions from the sun or light summer rain. Like cushions and cupholders, porch swing canopies can be either permanent or removable.
In conclusion, outdoor swings for your porch, deck, or garden are a charming and elegant way to elevate your outdoor living space and add tremendous personal value to you and your loved ones.
Outdoor swings are available in a variety of styles, sizes, suspension types, frames, and materials. Always pay attention to weight restrictions and opt for materials that are highly durable and weather resistant to reduce the risk of injuries, avoid property damage, and protect your investment.
Make your deck or patio swing your own by dressing it up with accessories like cushions and pillows. Don't forget about functional accessories like cup holders and canopies to maximize functionality and protect you from the elements!
Once you have installed your porch swing or worked with a deck builder to help you, the last thing that is left to do is curl up with a great book on a lazy afternoon, sit with your partner after a long week, or watch your grandchildren make memories that will last a lifetime.
Are you ready to add a built-in porch or deck swing to your outdoor oasis? Or would you like help to build a free-standing outdoor swing? Then Premier can help you get started! We have been helping homeowners like you elevate their decks and patios for over 90 years!
Reach out to us today to speak to one of our experts and request a no-obligation quote!

